
 One of the things I wanted to do last year for Christmas gifts is to make handprint frames, using my one-year-old's handprint.
I got sticker shock when looking at the kits. They were approximately $17 for a brushed aluminum hinged frame, with space on one side for a picture, and the other side for a handprint.
It took me a while to figure out how to do this. Even though I wasted a package of clay by making a mistake, I was able to finish two of these for less than one kit would have cost me.
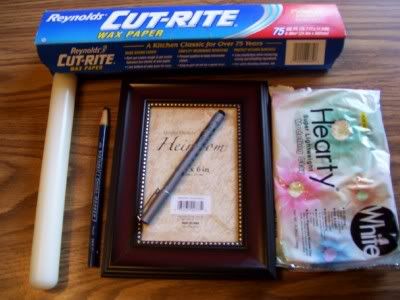
To make a frame, you will need:
1 hinged frame, at least 5x7 for a one-year-old. For older children, you might like a larger size.
(Hinged frames were difficult to find last year before Christmas. I ended up buying matching 5x7 frames instead.)
1 package of air-drying clay
(The pic shows a large package, but one small package should be plenty for a 5x7 size. You can find different colors. I recommend white or ecru color, but a pale pink would be sweet for a baby girl.)
Rolling pin
Waxed paper
Marking pen
Acid-free pen
Exact-O knife, or craft knife (not shown)
Cutting surface (not shown)
1. You will need a guide to show you how big to make the clay tablet. The backing part of the frame is a great choice. First, you want to use this to mark a rectangular area on a piece of waxed paper. The area should be an inch bigger than your guide on all sides.
2. Turn the waxed paper over so the marking is on the bottom. You do not want to get ink on the clay. Make sure your waxed paper surface is very clean. You don't want little dust pieces and lint anywhere.
3. Take a lump of air-dry clay and roll out on the waxed paper to about 1/4 inch thickness. You do not have to make a perfect rectangle, but make sure all corners are covered. You are going to trim this later.
4. This is the time to put the child's hand on for the handprint. I do not have any tricks here. This may take two or three tries with a little one, so be patient. It helps have someone help you distract the child. You will want to gently press on their hand to make sure you get good contact with all the fingers. Try to keep your pressure over a large area, rather than each finger individually. Small children have flexible joints, you won't be hurting them, but if you hyperextend their finger joints, the print will look funny.
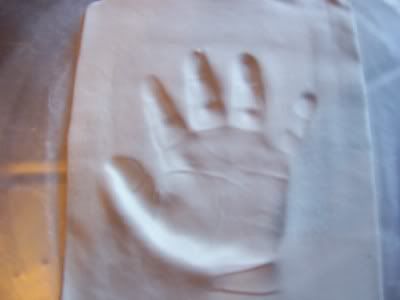
(In this picture, I have trimmed the edges of the clay. That is not necessary, this clay shrinks a bit and it is also very easy to trim when dry.)
5. Wash the child's hands first, then let him go play, while you touch up the clay. You might need to lightly rub to erase stray fingerprints and knicks from the little struggle you just had. I even had to rub out the area where his shirt cuff pressed into the clay. My non-imprinted surface did not end up being paper-smooth. It was slightly bumpy-textured, but this looked fine.
6. Set the clay aside to dry. The clay will shrink a bit, this is why you rolled it out bigger than necessary. The clay also will want to curl up. About every eight hours, I would flip the clay over, so that it wouldn't curl too far one way. It might take two days for the clay to completely dry.
7. When the clay is completely dry, lay it face-up on a cutting surface. Take the guide that you used in the first step, and use it to tell you where to trim the edges of the clay. The Exact-O knife is a good tool here, and you might want to use a straight-edge to make it easier.
8. Use that acid-free pen to mark the child's name and age on the back of the clay. Don't forget to do this, this is a keepsake that will last.
9. Remove the glass from one side of the hinged frame if you haven't done that already. Repurpose it, you won't need it for this project. Place the clay tablet in the frame and replace the backing to hold it in. Put a recent photo of the child in the other frame. You are done!
Love your tutorial, but I'd love to see the finished product. This was very clever.
ReplyDelete